
Last updated October 16, 2026
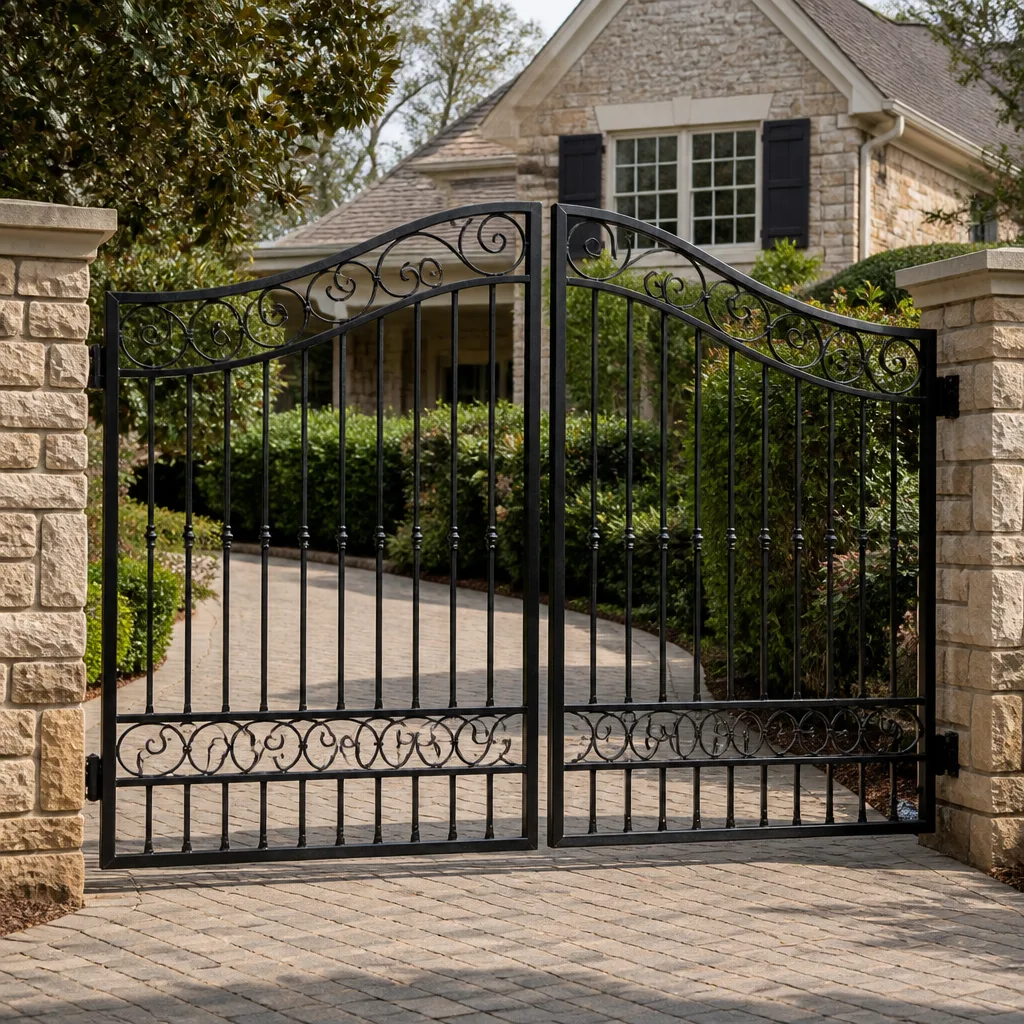 Wrought iron
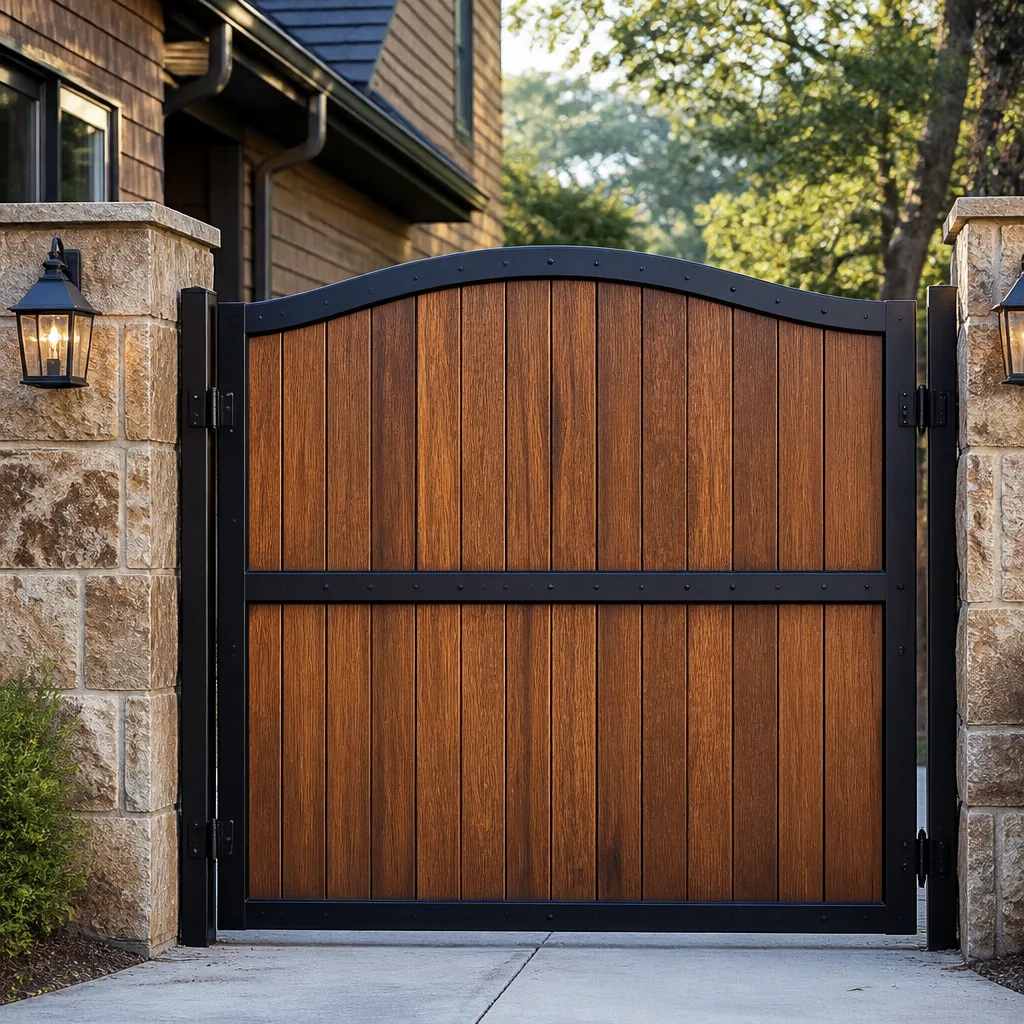 Wood & steel frame
 Farm & ranch
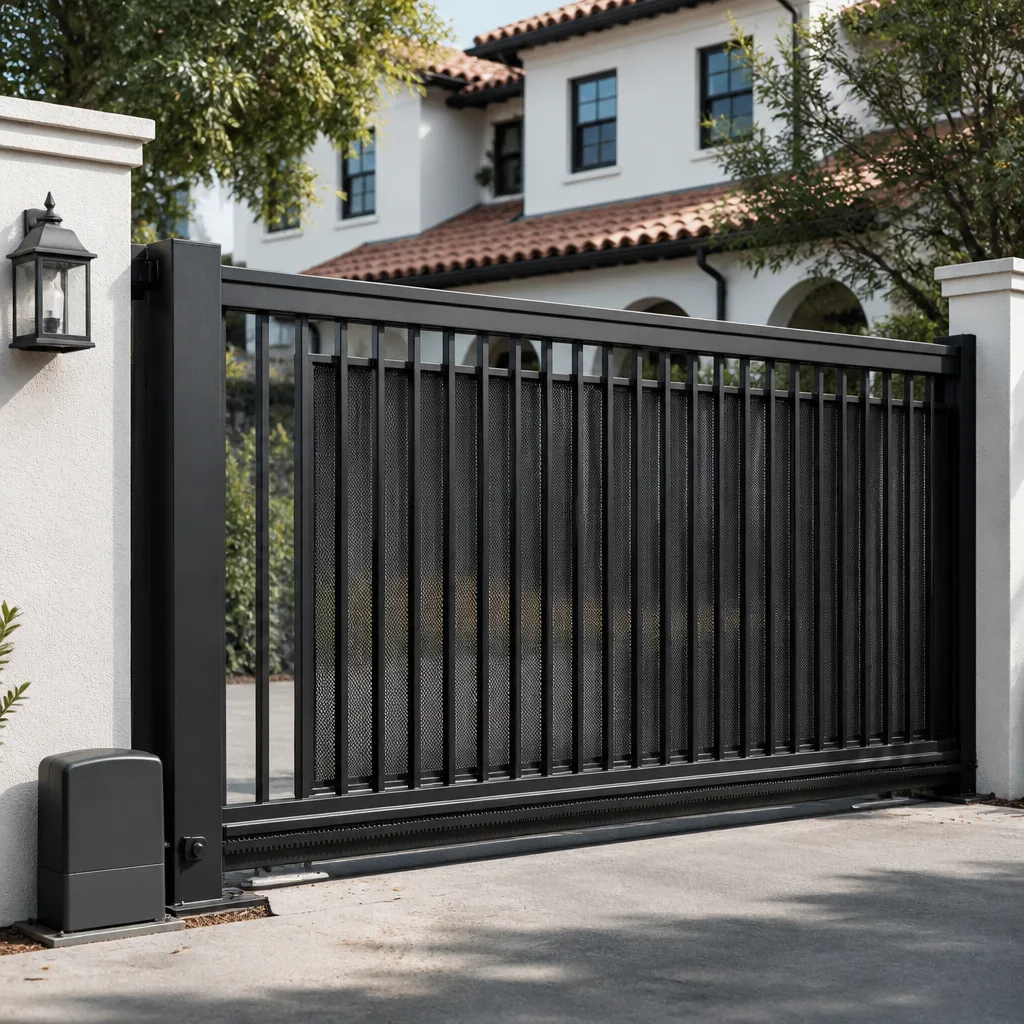 Sliding driveway gates
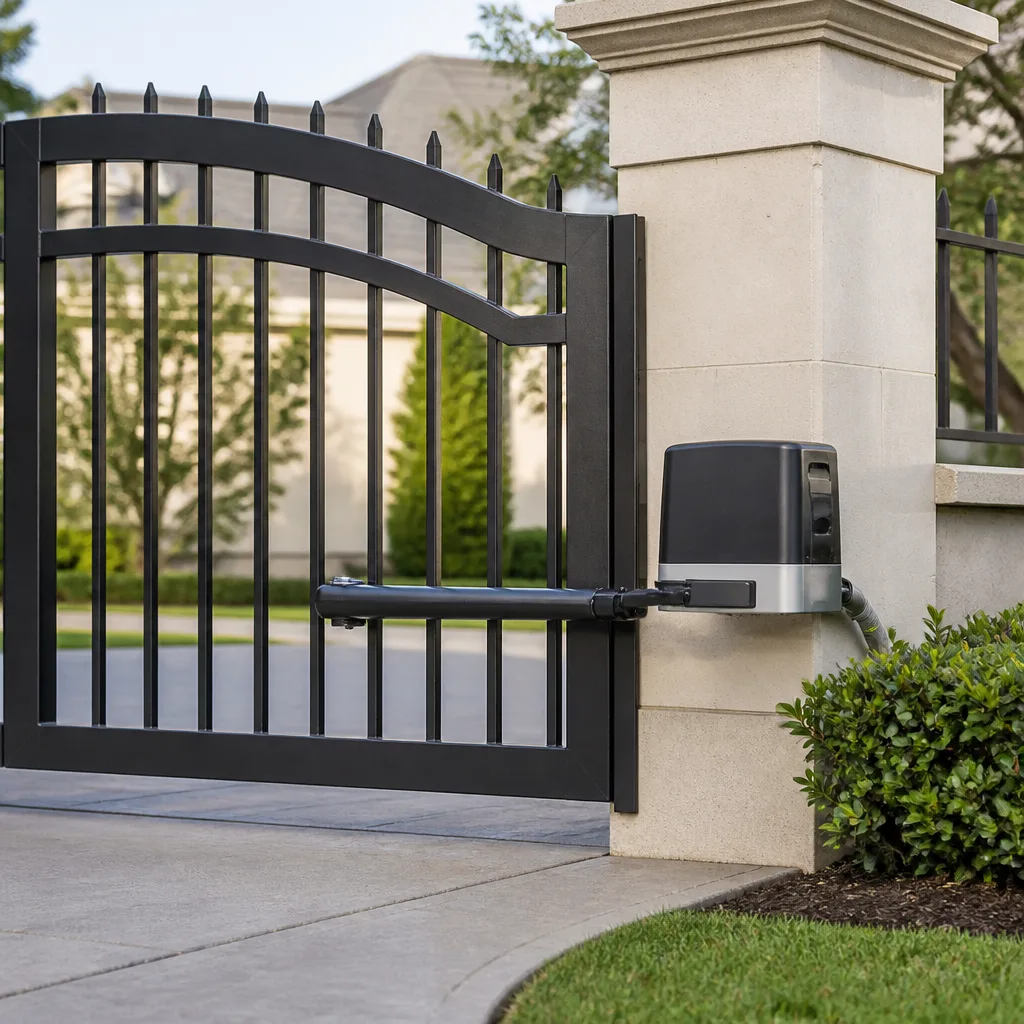 LiftMaster operators
Free on-site gate assessment - hinges, posts, and your LiftMaster or Nice gate operator checked before anything is quoted
The assessment is free and the quote is the invoice.
Get your free estimateGate Repair Maintenance Checklist for Orlando Homeowners
Gate lubricant applied in July in Orlando does something it never does in Phoenix or Chicago: it attracts mold. Most national maintenance guides skip this entirely, but in Central Florida, the wet season doesn’t just make your gate damp. For more guides & resources, explore our blog. It turns the wrong lubricant into a sticky, spore-catching paste that can seize a hinge faster than rust. This guide gives you a month-by-month maintenance plan built around the two forces that actually destroy gates in Orlando: the June-through-September humidity cycle that corrodes metal from the inside out, and UV intensity that cracks rubber seals and wiring insulation faster than nearly anywhere else in the continental U.S. You’ll learn which lubricants work here, how to catch hinge failure before it becomes structural, and which skipped tasks void your warranty.
Styles & brands we work with
Quick Answer
A gate maintenance checklist for Orlando homeowners means checking hinges, seals, and wiring on a schedule tied to Florida’s wet and dry seasons, not generic quarterly intervals. The highest-impact tasks are monthly hinge and track inspections, a mold-resistant lubricant applied every 60 days during wet season, and a UV-cracking inspection of all exposed wiring insulation every 6 months. Skipping these specific tasks is what turns a $50 seal replacement into a $900 gate motor failure in Orlando’s climate.
Table of Contents
- Why Orlando’s Climate Demands a Different Maintenance Schedule
- The Wet Season Checklist (June Through September)
- The Dry Season Checklist (October Through May)
- Lubricants That Work in Orlando Humidity (And Ones That Don’t)
- The Hinge Rust Check That Catches Internal Corrosion Early
- UV Wiring Inspection: The 6-Month Task Most Guides Miss
- Maintenance Tasks That Void Your Gate Warranty If Skipped
- Common Mistakes to Avoid
- When to Call a Professional
- Frequently Asked Questions
- The Bottom Line
Why Orlando’s Climate Demands a Different Maintenance Schedule
Your gate is fighting two enemies at once in Orlando, and they work in sequence. First comes the wet season, running roughly June through September, when afternoon thunderstorms and 90% humidity push moisture into every seam, hinge pin, and wire connector. Then comes the dry season, October through May, when UV indexes climb and that same moisture-baked rubber and plastic gets hit with intense sunlight that cracks it. A gate that survives a northern climate on one annual tune-up will not survive Orlando on the same schedule. We’ve pulled gate motors apart in the College Park and Conway areas and found corrosion patterns that simply don’t exist in drier markets. The maintenance plan below is organized around these two seasons because that’s what the equipment responds to.
A generic checklist tells you to lubricate twice a year. In Orlando, the wet season alone demands a check every 60 days. A generic checklist tells you to inspect wiring annually. Here, UV-degraded insulation can expose copper within 18 months of installation. When you understand the climate mechanics, the schedule below stops feeling like overkill and starts feeling like the minimum. For a broader look at how these failures show up across the city, see our Gate Repair in Orlando guide.
The Wet Season Checklist: June Through September
From June through September, Orlando receives about 60% of its annual rainfall. That means your gate’s metal components spend four straight months cycling between saturated and blazing hot. Each cycle draws moisture deeper into the metal. Here is the month-by-month plan, written specifically for the wet season.
Every Month During Wet Season
- Inspect hinge pins for surface rust. Look at the top and bottom of each hinge. If you see orange streaking running down from the pin, that’s active corrosion, not cosmetic aging. Address it now.
- Check the gate’s travel path. Wet soil expands and shifts. A gate that cleared the ground by three inches in May might drag by August. Look for fresh scrape marks on the driveway or track.
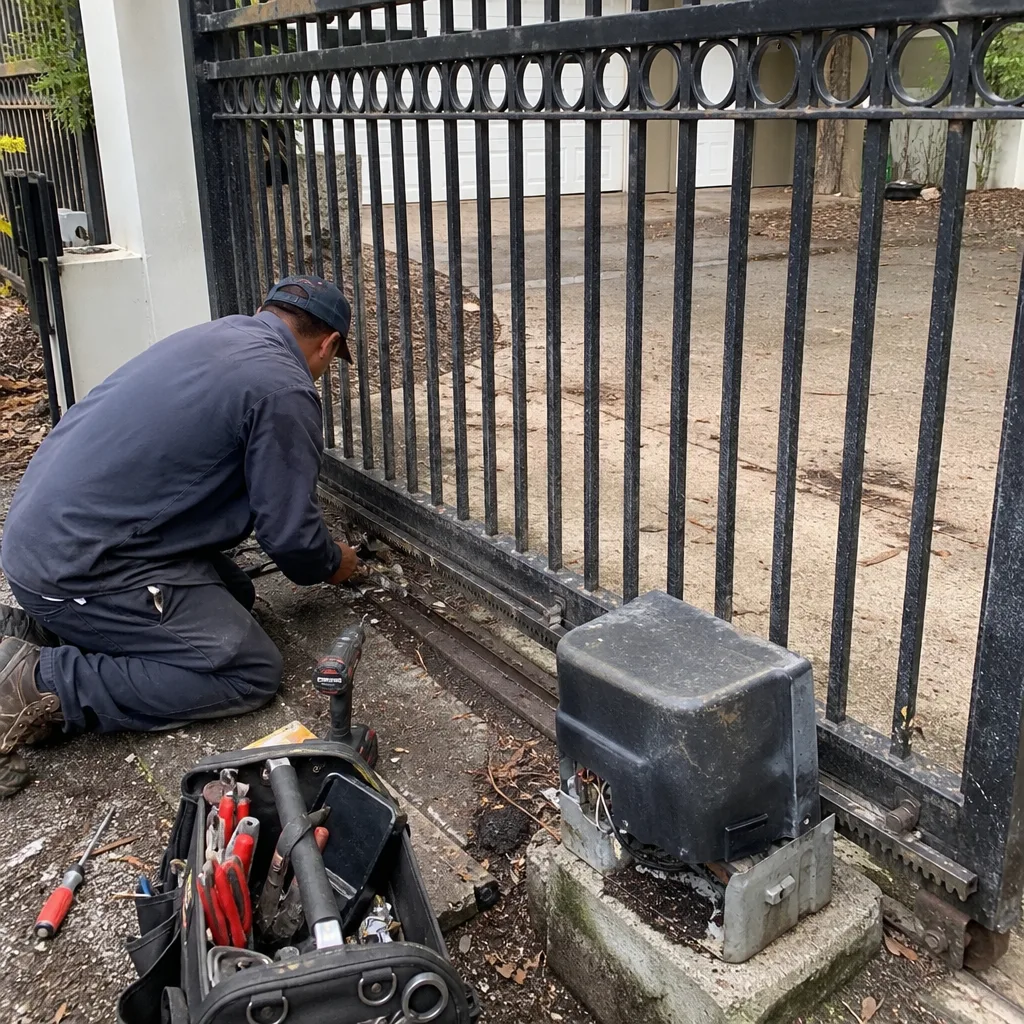
- Clean debris from the bottom track (for sliding gates). Oak leaves, grass clippings, and mulch get wet and compact into a paste that jams rollers.
- Test the safety sensors. Wave a broom handle through the gate’s closing path. If the gate doesn’t reverse, the sensors have failed or drifted out of alignment. This is a safety issue, not just a maintenance item.
- Wipe down exposed metal surfaces. A dry rag after heavy rain removes the standing water film that becomes corrosion. It takes two minutes.
Every 60 Days During Wet Season
- Apply a mold-resistant lubricant to hinge pins and roller bearings. Not just any lubricant. See the lubricant section below for exactly what to use and what to avoid.
- Inspect the gate motor housing for moisture ingress. Look for condensation on the inside of the cover. In Orlando’s wet season, a motor that runs hot and cools repeatedly can actually pull humid air inside through breathing vents. If you see moisture, the housing gasket has likely failed.
- Check all exposed bolts and fasteners. Wet-season expansion and contraction loosens hardware faster than dry heat does. Use a wrench, not your fingers, to confirm tightness.
The Dry Season Checklist: October Through May
Orlando’s dry season is not gentle. It’s when UV radiation does its worst, because fewer clouds means more direct sunlight. Rubber gaskets, plastic housings, wire insulation, and even powder coating on metal gates all degrade faster here than homeowners expect. The dry season checklist targets that UV damage.
Every Month During Dry Season
- Inspect rubber seals and weatherstripping. Run your fingers along the seal edges. If the material flakes, leaves residue on your fingers, or shows visible cracks, it’s UV-degraded and needs replacement before wet season returns.
- Check the gate’s closing force. As seals degrade, the gate loses its soft-close cushioning. If the gate slams rather than settles, you’re hearing the seals fail.
- Clear cobwebs and insect nests from the motor housing. Orlando’s dry season is spider season. Mud dauber nests inside a motor housing are a real problem here, and they clog ventilation.
Every 6 Months During Dry Season
- Conduct the full UV wiring inspection described below. This is the task that saves the most expensive repairs, and it’s the one most guides skip or push to an annual schedule.
- Lubricate all moving points. Even in dry season, your hinges still need lubrication. The mold pressure drops, but metal-on-metal friction doesn’t.
- Test the auto-reverse function. Put an object in the gate’s path and measure how quickly it reverses. If it’s slow, the force settings may need adjustment. This protects people and vehicles.
Lubricants That Work in Orlando Humidity (And Ones That Don’t)
The wrong lubricant in Orlando is worse than no lubricant. That sounds extreme, but we’ve removed hinge pins from gates in the Dr. Phillips area that were effectively glued in place by a cocktail of cheap silicone spray and black mold. Here’s what works and what doesn’t in a climate where humidity regularly hits 90%.
What to Use
- White lithium grease: Mold-resistant and stays in place on hinge pins. This is our default recommendation for Orlando gate hinges.
- Marine-grade grease: Designed for boats in saltwater environments, it handles Orlando’s humidity without breaking down. Overkill for many applications, but excellent for coastal-adjacent homes.
- Dry PTFE spray: For tracks and rollers on sliding gates. It leaves a dry film that doesn’t attract dust or mold spores.
- Food-grade silicone lubricant: For rubber seals and weatherstripping. It keeps the rubber supple without degrading the material, and it doesn’t support mold growth.
What to Avoid
- WD-40: This is a water displacer, not a lubricant. It evaporates quickly and leaves almost no protective film. In Orlando, it’s worse than useless because the temporary slickness gives you false confidence and does nothing to stop corrosion.
- Vegetable-oil-based lubricants: Some “eco-friendly” products use plant oils. In high humidity, these oxidize and become food for mold. Never use them on an Orlando gate.
- Heavy axle grease: Designed for enclosed automotive bearings, not exposed gate hinges. It traps moisture against the metal and accelerates rust.
- Graphite powder: Works in dry climates, but in Orlando it clumps when wet and creates a grinding paste.
When we service gates across Orlando, we use lubricants matched to the specific hinge and roller type. For a deeper look at how this service is structured, see our Warden Gate Repair Orlando home page.
The Hinge Rust Check That Catches Internal Corrosion Early
By the time you see rust flaking off the outside of a gate hinge in Orlando, the internal corrosion has usually been active for a year or more. The real damage happens inside the hinge barrel, where the pin rotates and moisture gets trapped. Here’s how to check for internal corrosion before it becomes a structural failure.
What Internal Corrosion Looks Like
Internal hinge corrosion doesn’t announce itself with dramatic orange rust. It shows up first as a change in how the gate moves. If your gate swings with a slight catch or a dry creak that lubricant doesn’t fix, that’s the sound of a corroded hinge pin grinding against its barrel. If you lift the gate slightly and feel vertical play, the pin has worn thin enough that the gate is now resting on the barrel rather than riding the pin. Both are red flags.
The 5-Minute Hinge Check
- Disconnect the opener (or put it in manual mode). You need to feel the gate’s movement without the motor masking friction.
- Swing or slide the gate by hand through its full range. A gate with healthy hinges moves smoothly with no change in resistance at any point.
- Listen for a dry creak at the hinge points. Lubricate and test again. If the creak returns within a week, the pin is already scored and the hinge needs replacement, not more lubricant.
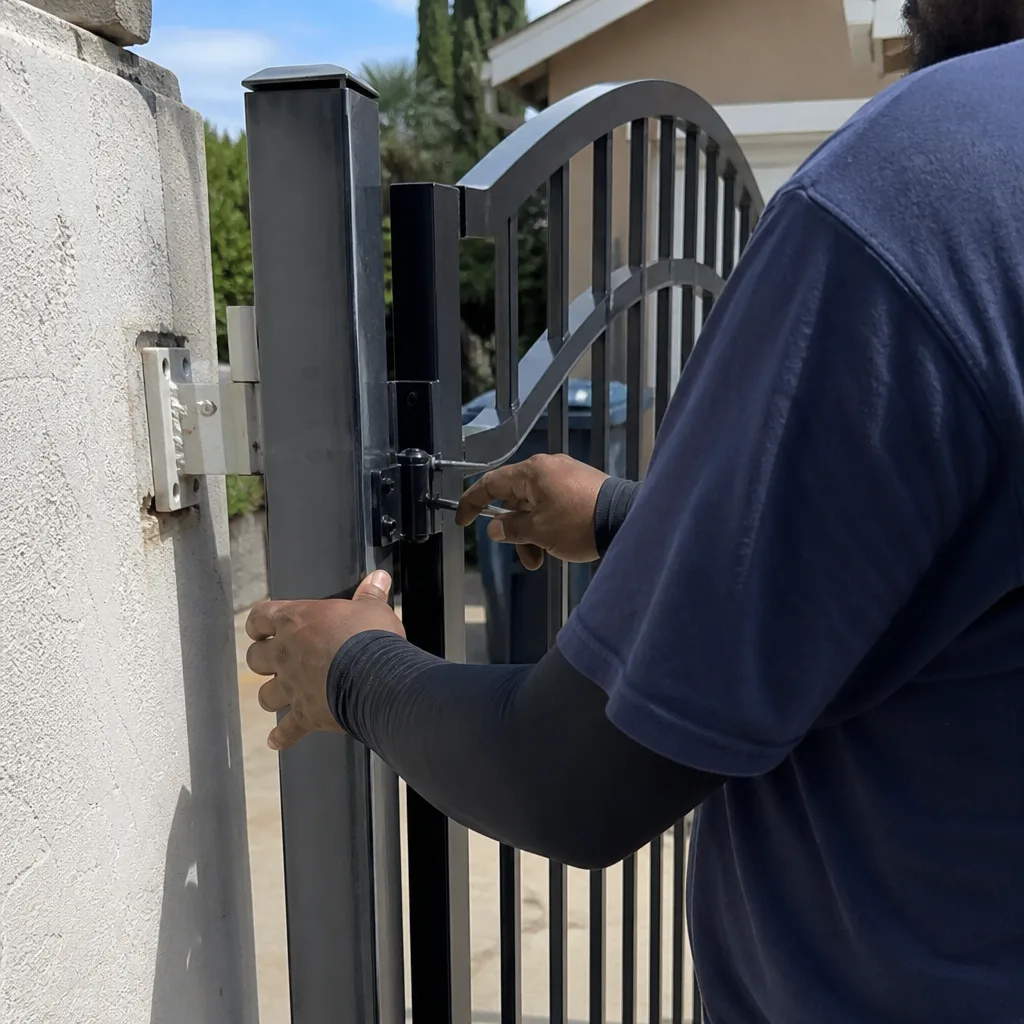
- Check for vertical play. Grip the gate near the hinge and lift upward. Any movement beyond a barely perceptible flex means the pin or the barrel has worn. This is the point where hinge replacement is cheaper than the structural repair that follows.
In Orlando, we’ve seen hinge pins in the Winter Park area corrode entirely through in five to seven years on unprotected steel gates. The same hinge in a dry climate would last fifteen. The internal corrosion check is what catches the problem at year three instead of year seven, when the gate has already sagged and stressed the motor. If your electric gate system is showing age, our Electric Gate Repair in Orlando page covers what a full inspection includes.
UV Wiring Inspection: The 6-Month Task Most Guides Miss
Most national maintenance guides tell you to inspect gate wiring once a year. In Orlando, that’s not enough. The UV intensity in Central Florida degrades PVC insulation on low-voltage and line-voltage wiring faster than almost anywhere in the continental U.S. We’ve removed wiring from gates in the Lake Nona area that was installed less than three years earlier and already showed cracking deep enough to expose copper. Here’s the inspection that catches that damage before it shorts a control board or worse.
What You’re Looking For
UV damage on wire insulation starts as a change in surface texture. The insulation goes from smooth and slightly glossy to chalky and matte. That chalky layer is the plasticizer breaking down. From there, hairline cracks form along the wire’s length. Those cracks eventually open wide enough to expose the copper conductor inside. Once copper is exposed in Orlando’s wet season, you get corrosion inside the wire itself. That corrosion travels internally, invisible, until the wire fails at the worst possible time.
How to Inspect Gate Wiring in Orlando
- Shut off power to the gate system at the breaker. This is a real safety requirement. You’re looking at wires that may already be compromised.
- Trace every exposed wire run. Look at the section between the gate and the motor, the conduit (if present), and any wiring that runs along the gate frame itself.
- Bend a small section of wire gently. Healthy insulation flexes without cracking. UV-degraded insulation will crack, flake, or split when flexed. Do not bend sharply. The goal is to reveal degradation, not create it.
- Look for color fading on the insulation. A wire jacket that was once dark gray and is now light gray or brown has taken significant UV exposure.
- Check for exposed copper or corrosion at connection points. Pay special attention to wire nuts, spade connectors, and any splice points. These are where moisture enters once insulation fails.
If you find cracking or exposed conductors, that wiring needs replacement before wet season. Do not apply electrical tape over UV-cracked insulation and call it fixed. The cracking continues under the tape, and the tape itself degrades in the same UV environment. For motor-specific failures, our Gate Motor Repair in Orlando page explains what happens when degraded wiring hits a control board.
Maintenance Tasks That Void Your Gate Warranty If Skipped
Gate manufacturers write warranty documents with specific maintenance requirements. Those requirements exist because the manufacturer knows what causes warranty claims, and in Florida, the claims are overwhelmingly corrosion- and UV-related. See Gate Repair Permits, Codes & Inspections in FL: What You Need to Know for related compliance details. When we’re called to inspect a failed motor that’s still under warranty, the first thing the manufacturer asks for is maintenance documentation. Here are the tasks that, if skipped, give the manufacturer an easy claim denial.
Tasks That Warranties Explicitly Require
- Hinge and roller lubrication: Most gate and opener warranties require lubrication at intervals between 30 and 90 days. Skip it for a year, and a seized motor bearing becomes a maintenance failure, not a manufacturing defect.
- Safety sensor testing: If a warranty claim involves a gate closing on a vehicle or a person, and the sensors were never tested or maintained, the claim is denied. Many sensor failures are listed as excluded when the damage results from debris accumulation or misalignment.
- Seal and weatherstripping replacement: Rubber components are consumable wear items in every warranty. If water damage occurs because UV-degraded seals were never replaced, that’s a maintenance exclusion.
- Battery backup testing: For gate motors with battery backups, many warranties require regular testing. A battery that fails during a power outage after years without testing is not a warranty item.
Documentation You Should Keep
Keep a simple maintenance log. Note the date, what you did, and which products you used. A spiral notebook or a note on your phone works. If a warranty claim comes up, you’ll need to show that the maintenance schedule was followed. We also recommend photographing anything you replace and keeping the receipt for the replacement parts. This documentation is what separates an approved claim from a denied one.
Common Mistakes to Avoid
- Applying WD-40 to hinges. It washes away real lubricant and leaves the metal exposed. In Orlando’s humidity, that bare metal starts corroding within a week.
- Pressure-washing the gate motor housing. Pressure washers force water past gaskets and seals that were designed for rain, not a focused jet. Once water enters the motor housing, corrosion begins immediately.
- Ignoring a gate that’s slightly out of alignment. A gate that drags or scrapes by half an inch is doubling the load on every hinge and the motor. The repair cost compounds every month it’s ignored.
- Using household lubricants on rubber seals. Petroleum-based products degrade the rubber. In Orlando’s UV environment, that degradation happens twice as fast.
- Skipping the wet season prep. Most homeowners think about gate maintenance in spring and forget about it by July. But July is when the damage happens. Wet season is when you should be most active, not least.
- Overtightening hinge bolts. Tighter is not better. An overtightened hinge binds and wears the pin unevenly. Snug is the correct torque for most residential gate hinges.
- Waiting until the gate stops moving to investigate a new noise. Grinding, squealing, or a new clunk is the gate telling you something is wrong. By the time it stops making noise, the part has usually failed entirely.
When to Call a Professional
Some maintenance tasks are genuinely DIY-friendly: cleaning tracks, wiping down metal, checking seals, and applying the correct lubricant. Others require a professional. If you find exposed wiring during the UV inspection, that’s a call to a licensed gate technician, not a DIY splice job. If the gate motor is making a grinding noise that changes under load, the damage may already be inside the gearbox, and opening it without training usually means destroying the unit. High-tension springs and heavy counterbalance mechanisms on larger gates store enough energy to cause serious injury, so leave those alone. Hinge replacement on a heavy gate requires lifting equipment and proper shimming. And any time a warranty claim is involved, professional documentation strengthens your claim. Warden Gate Repair Orlando offers free estimates in Orlando. Call (321) 465-7089 and we’ll tell you exactly what’s wrong and what it costs to fix, in writing, before any work starts.
Frequently Asked Questions
A basic professional gate maintenance visit in Orlando typically runs between $95 and $175, which includes lubrication, hinge inspection, sensor alignment, and a written condition report. Full service visits that include seal replacement or wiring repair run higher, $200 to $450, depending on what’s found. Every quote from Warden Gate Repair Orlando is given in writing before work starts. Call (321) 465-7089 for an exact quote for your gate.
In Florida, a residential gate should receive professional service at least twice a year, with one visit scheduled in late spring before the wet season begins and another in late fall as the dry season settles in. This schedule catches UV damage from summer and corrosion from the wet months before either becomes a structural problem. Between professional visits, the monthly homeowner checks described in this guide keep small issues from compounding.
Yes. New gates in Orlando actually require more attention in their first two years, not less. The rubber seals and wire insulation are still curing, the concrete footings are still settling, and the gate’s operating clearances shift as everything beds in. A new gate that gets no maintenance in its first Orlando summer is often a gate that needs a motor replacement before its third birthday.
The most common gate failure we see across Orlando is corroded hinge pins that go unnoticed until the gate sags and burns out the motor. The failure looks like a motor problem, but the root cause is almost always a $15 hinge pin that was never lubricated or inspected. This failure pattern is consistent across neighborhoods from Baldwin Park to Windermere.
You can and should lubricate your own hinges between professional service visits, provided you use the right product. White lithium grease or marine-grade grease applied every 60 days during wet season is safe for homeowners to handle. The hinge replacement itself, if you find vertical play or internal corrosion, is not a DIY job on a heavy gate.
Yes. Warden Gate Repair Orlando is factory-trained on LiftMaster, FAAC, BFT, and Linear gate opener systems, along with five other major brands. The right parts and the right diagnostic knowledge arrive together, which means we repair rather than replace whenever possible. Call (321) 465-7089 and tell us which opener you have, and we’ll confirm the service options on the first call.
The Bottom Line
An Orlando gate that follows a generic maintenance schedule is a gate that fails early. The wet season and the UV intensity in Central Florida each create specific failure patterns, and the checklist above targets both. Lubricate with mold-resistant products every 60 days from June through September. Inspect wiring insulation for UV cracking every six months, year-round. Check hinges for internal play and corrosion before they strain the motor. Keep your maintenance log, because warranty claims depend on it. If any of this checklist reveals a problem you don’t want to handle, see Gate Repair Warning Signs: A Orlando Homeowner’s Reference Guide for more details, or call Warden Gate Repair Orlando and we’ll give you a name, a photo of your technician, and a written price before any work starts. Call (321) 465-7089 today.
Written by Cole Rafferty, Owner at Warden Gate Repair Orlando, serving Orlando since 2008.
See the difference
 Before
 After
After Before
 After
After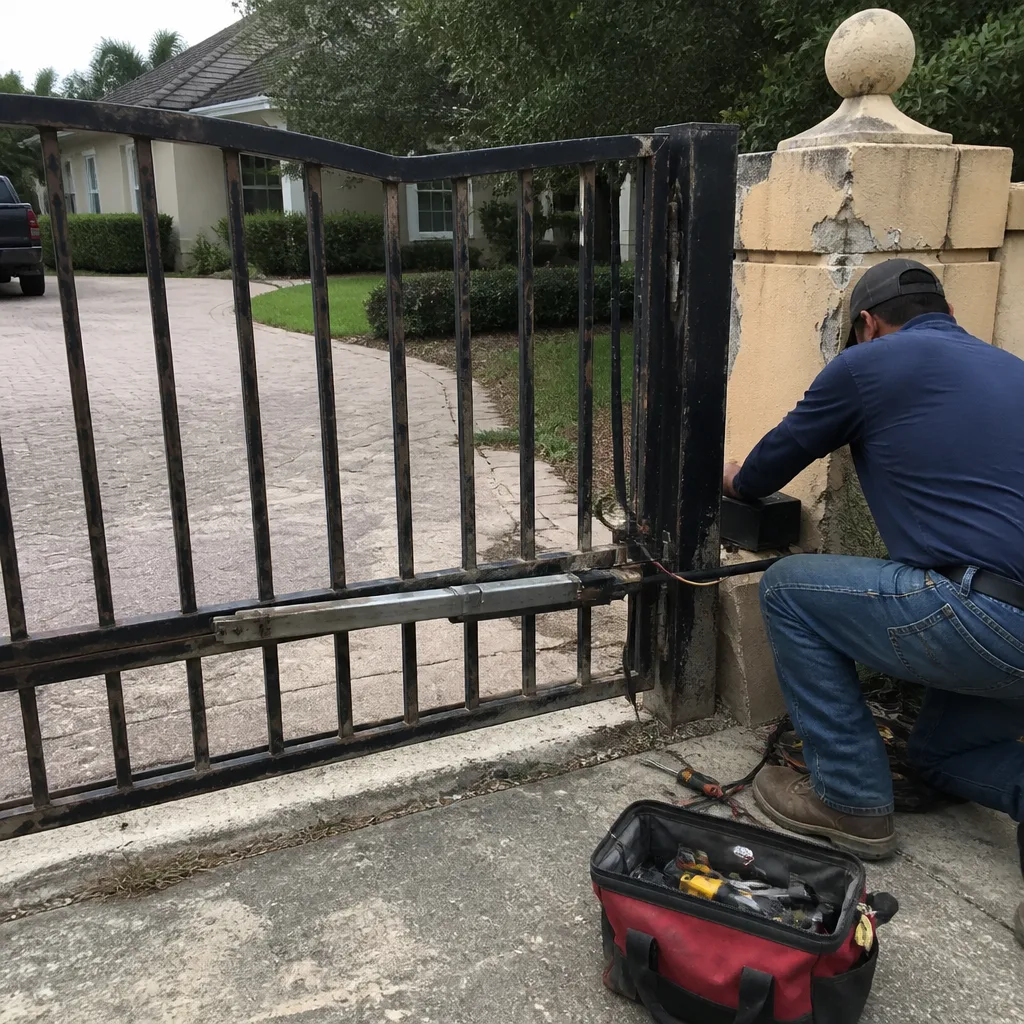 Before
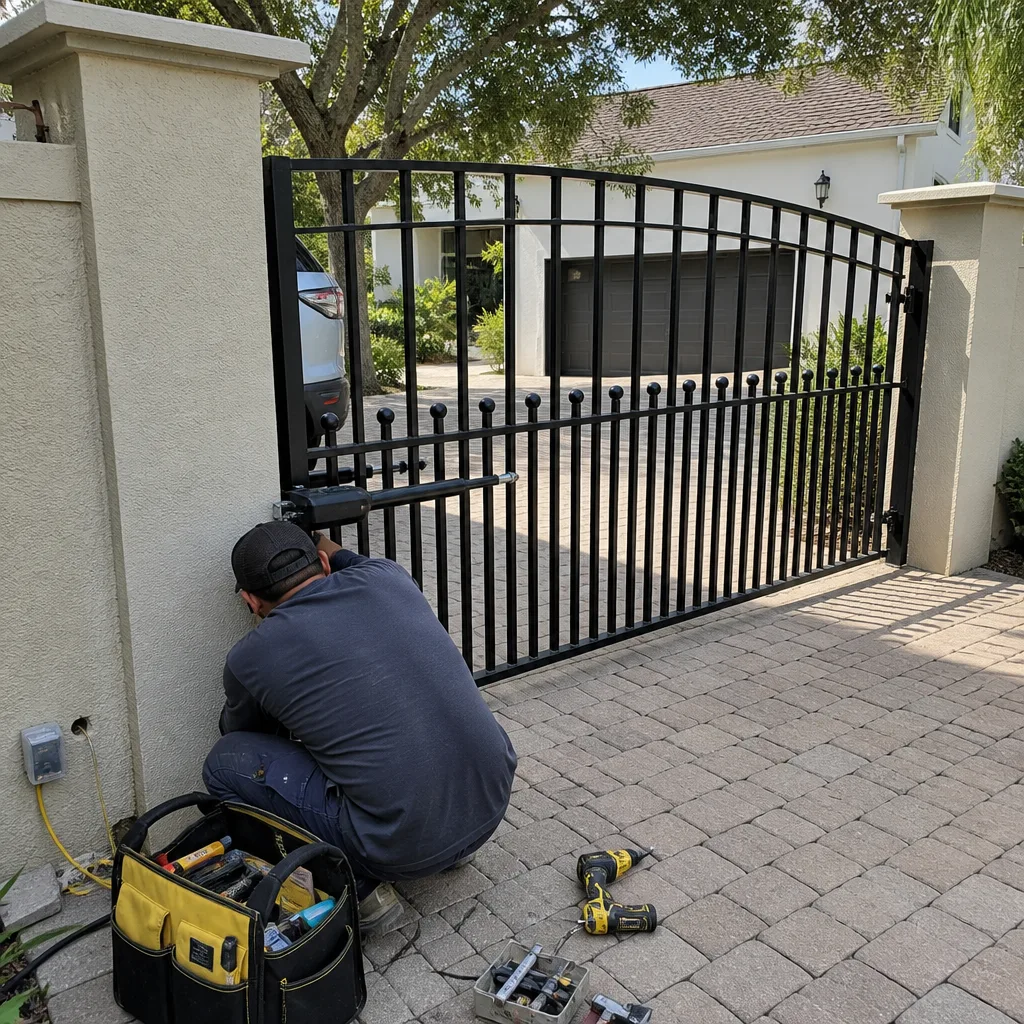 After
After